WP Toolkit's Smart Update feature in cPanel provides an automated and intelligent way to update WordPress sites. It ensures the safety and stability of your site by creating a clone, performing the updates, and testing them for compatibility issues before applying the changes to the live site. This minimizes the risk of downtime or errors, giving you peace of mind with every update.
In this guide, we will go through the process of enabling Smart Update, applying a pending update and setting up automated updates.
Step 1: Accessing cPanel
To begin, please log in to cPanel. This is the control panel where you can manage various aspects of your website, including WordPress installations.
Accessing your hosting control panel (cPanel)
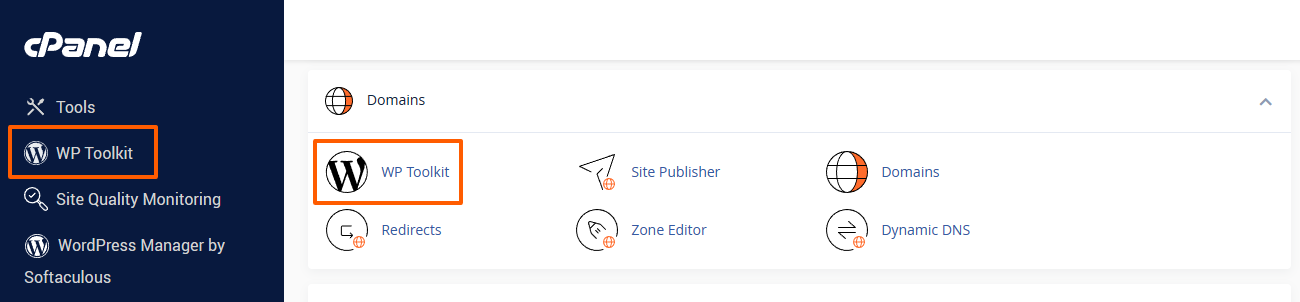
Step 2: Locating WP Toolkit
Once inside cPanel, search for the WP Toolkit icon in the "Software" group or in the left sidebar.
Step 3: Finding Your WordPress Installation
On the WP Toolkit overview page, you will see a list of all the WordPress installations associated with your hosting account.
If there are no existing WordPress installations added to WP Toolkit, please click on the "Scan" button and WP Toolkit will look for existing WordPress sites on your hosting account:
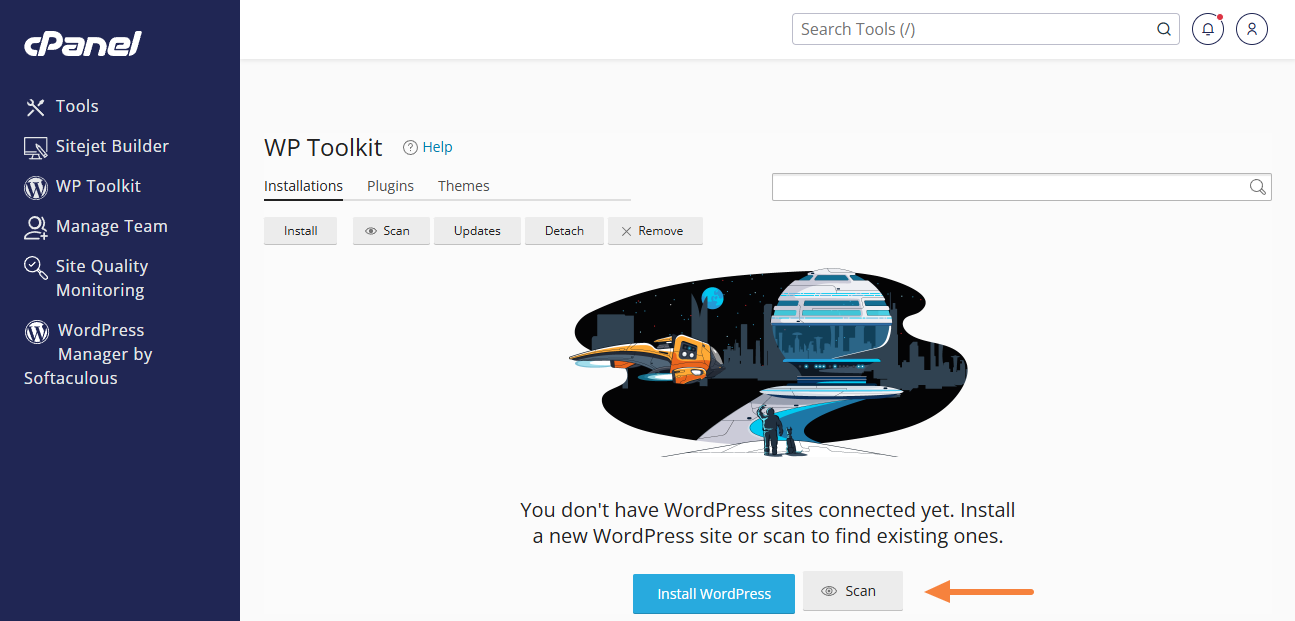
Note: If no WordPress site can be found, please assure that there is no existing file named .wp-toolkit-ignore in the main directory of the site.
Locate the specific website and click on the toggle on the left to pull down the site overview:

Step 4: Update WordPress
- Under the Status section next to WordPress, click on the link Update to X.Y.Z (version number).
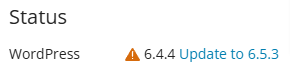
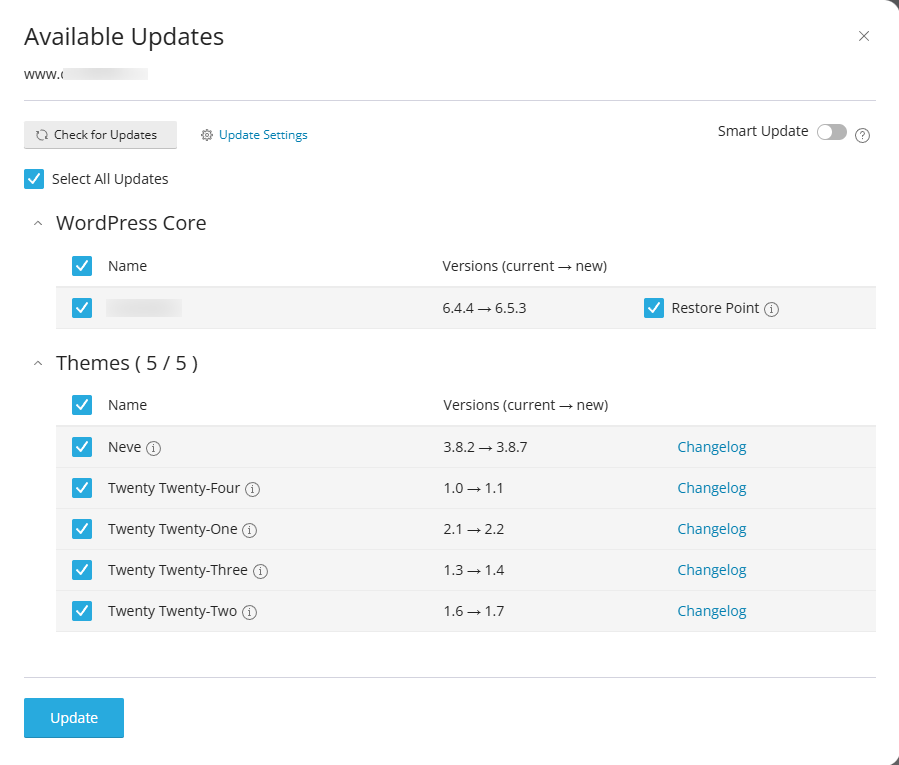
Please note that this link only appears if you don't have the latest WordPress version installed. If it doesn't appear, then you can skip the next steps and return when a new WordPress version is released.- Tick the checkboxes Select All Updates and Restore Point.
Selecting all updates will assure that not only the WordPress Core is updated, but also all installed plugins/themes.
Creating a restore point is highly recommended so you can revert in the event that an update breaks your site. - Click on the "Update" button and wait for the process to finish.
- Tick the checkboxes Select All Updates and Restore Point.
- Check if your WordPress site still functions correctly. If you notice any issues, you can restore the site from the backup.
Step 5: Enable Auto-Updates and Smart Update
Updating your website can often be a tedious and exasperating task, and it's one that is frequently overlooked, yet it remains crucial for the security of your site. On the bright side, this process can be automated.
Smart Update evaluates WordPress updates by creating a clone of your production site. It applies the updates to the clone and conducts various checks to ensure nothing is disrupted. The Smart Update report will then provide a list of encountered errors, allowing you or your developer to address them beforehand. This ensures that the update process is much more secure, straightforward, and predictable.
To enable Automatic Updates and/or Smart Update:
- On the WP Toolkit page, scroll to the WordPress site that you'd like to enable automatic updates
- Enable the Smart Update toggle (recommended, but optional)
- Click on the Autoupdate settings link

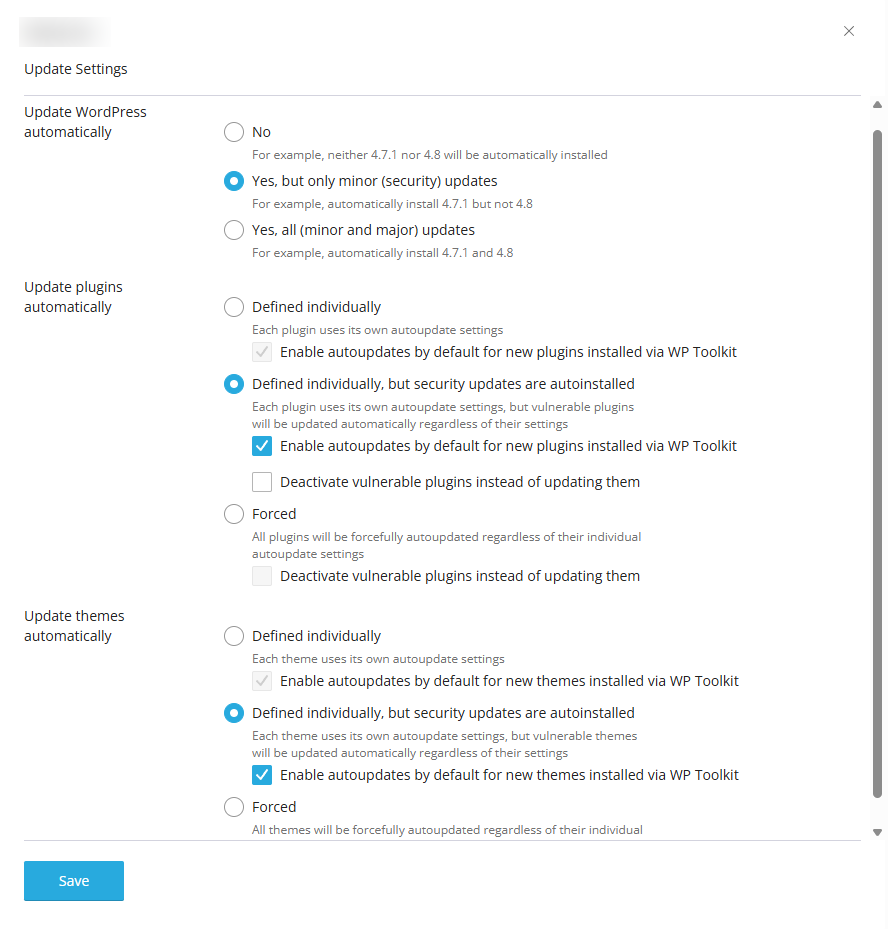
- Next to Update WordPress automatically, select at least Yes, but only minor (security) updates
- Next to Update plugins automatically, select at least Defined individually, but security updates are autoinstalled
- Next to Update themes automatically, select at least Defined individually, but security updates are autoinstalled
- Click on the OK button
Every 24 hours, WP Toolkit will check for updates and installed the type of updates that you have enabled. Unless you have Smart Update enabled, it's recommended to always have a recent backup available, just in case an update breaks your site.
Notes about Smart Update:
- Smart Update tests WordPress updates without affecting the production site.
- It clones your site, updates the clone, and runs a number of checks to see if updates have broken anything.
- Important: Since your current site is temporarily cloned, at least 50% of free disk space is required, or at least the same disk space amount that your site uses up.
- The updates are never applied on the production site if the automated regression testing tool determines that your site is broken after the test update run.
- If an issue is detected during the automated regression testing:
- Smart Update sends an email notification to the cPanel contact email.
- You can review test results and check the test site itself to make an informed decision about updating your production site.
- Your production site is not affected until you either confirm the update (manual update) or the regression testing introduces no (new) issues (automatic update).
- Since Smart Update creates a clone of your site, you must assure that your cPanel account always has at least 50% free disk space available, otherwise, Smart Update will fail and your site will remain outdated.
Note: Premium Plugins and Themes
Please note that premium/paid themes and plugins may need to be manually checked for updates and updated. WordPress and WP Toolkit may be unable to update such plugins/themes. You should check the documentation of your premium/paid themes and plugins for their update procedure, and bookmark or subscribe to the release log to be aware when a new version is released. Many premium themes have other premium plugins bundled, and those can only be updated if you update the theme first, then refer to the theme's documentation on how to update the bundled plugins.
For premium plugins that come bundled with themes, we generally recommend purchasing your own standalone license if possible. It often happens that theme vendors stop maintaining the theme and no longer provide updates of the bundled plugins, which would prevent you from getting security updates of those plugins. Some theme vendors are also very slow in providing security updates for the bundled plugins. With your own standalone license of the premium plugin, you would have access to security updates as soon as they're released, without having to rely on the theme vendor.
Updated by SP on 21/05/2024


