WordPress software includes a WP-Cron.php file that carries out regular maintenance tasks on your website to keep things running smoothly.
As its name suggests, WP-Cron should be setup to run as a cron job on your hosting account. When a cron job is not setup, WordPress will run the file every single time someone visits your website. On most websites, this results in many unnecessary requests, sometimes thousands per hour. These requests often use a lot of CPU (computing power) and EP (entry processes) on your web hosting plan!
Thankfully, it's easy enough to fix this by disabling WP-Cron and then configuring a cron job for it to run a little less frequently!
We often get asked "Is this needed?". Yes, every WordPress website owner should do this.
If you manage your website using the WordPress Toolkit in the cPanel control panel, enable the option "Take over wp-cron.php" and it'll create the cron job for you. If you don't use the WordPress Toolkit, follow the 3 steps below.
Step 1 - Add a line to the wp-config.php file.
Open the wp-config.php file located in the main directory of your WordPress website and add a new line of code:
define('DISABLE_WP_CRON', true);
This line can be added anywhere after the first line in the file.
Here is an example of how the wp-config.php file might look: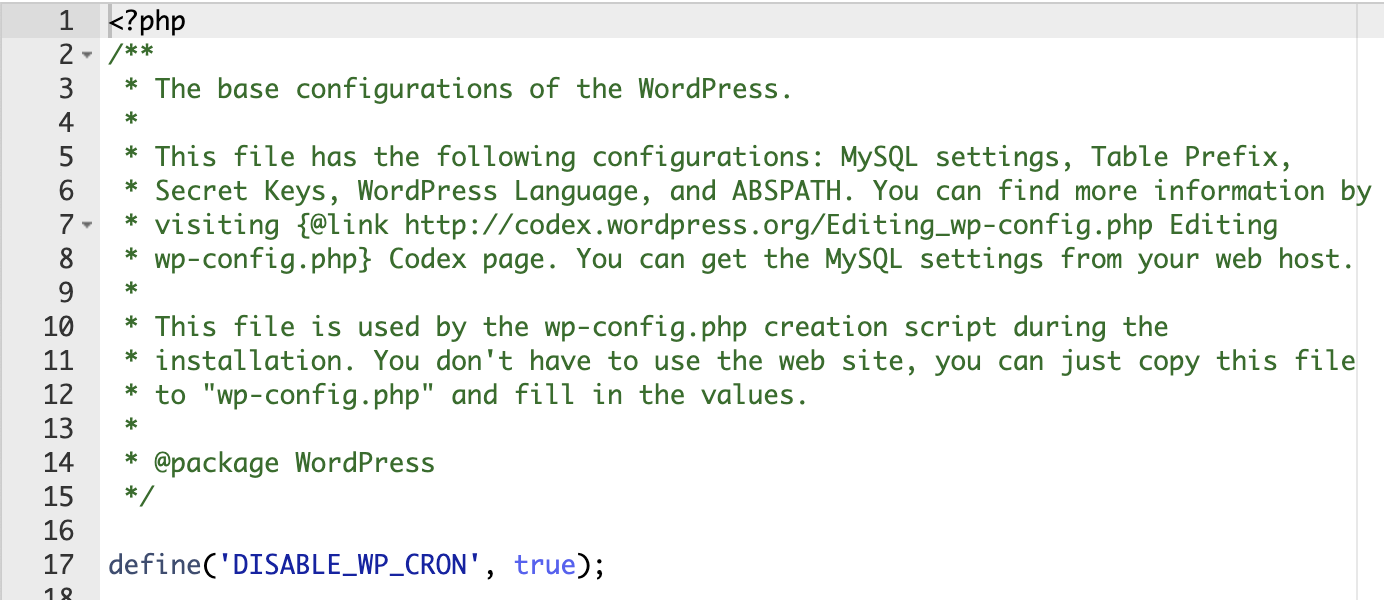
Step 2 - Create a new cron job in your cPanel control panel
Log into your cPanel control panel and navigate to Advanced => Cron Jobs
You'll see a list of any existing cron jobs and the option to create a new cron job.
For most websites we recommend creating a cron job to run twice per day. For busy websites the cron job should run more frequently, once an hour, or up to once every 15 minutes for very busy websites.
Here is an example of a cron job command that we recommend:
wget -O /dev/null https://exampledomain.com/wp-cron.php?doing_wp_cron > /dev/null 2>&1
You should paste this command into the form to create a new cron job, but change exampledomain.com to your actual domain name!
Here is an example of how the cron job form might look: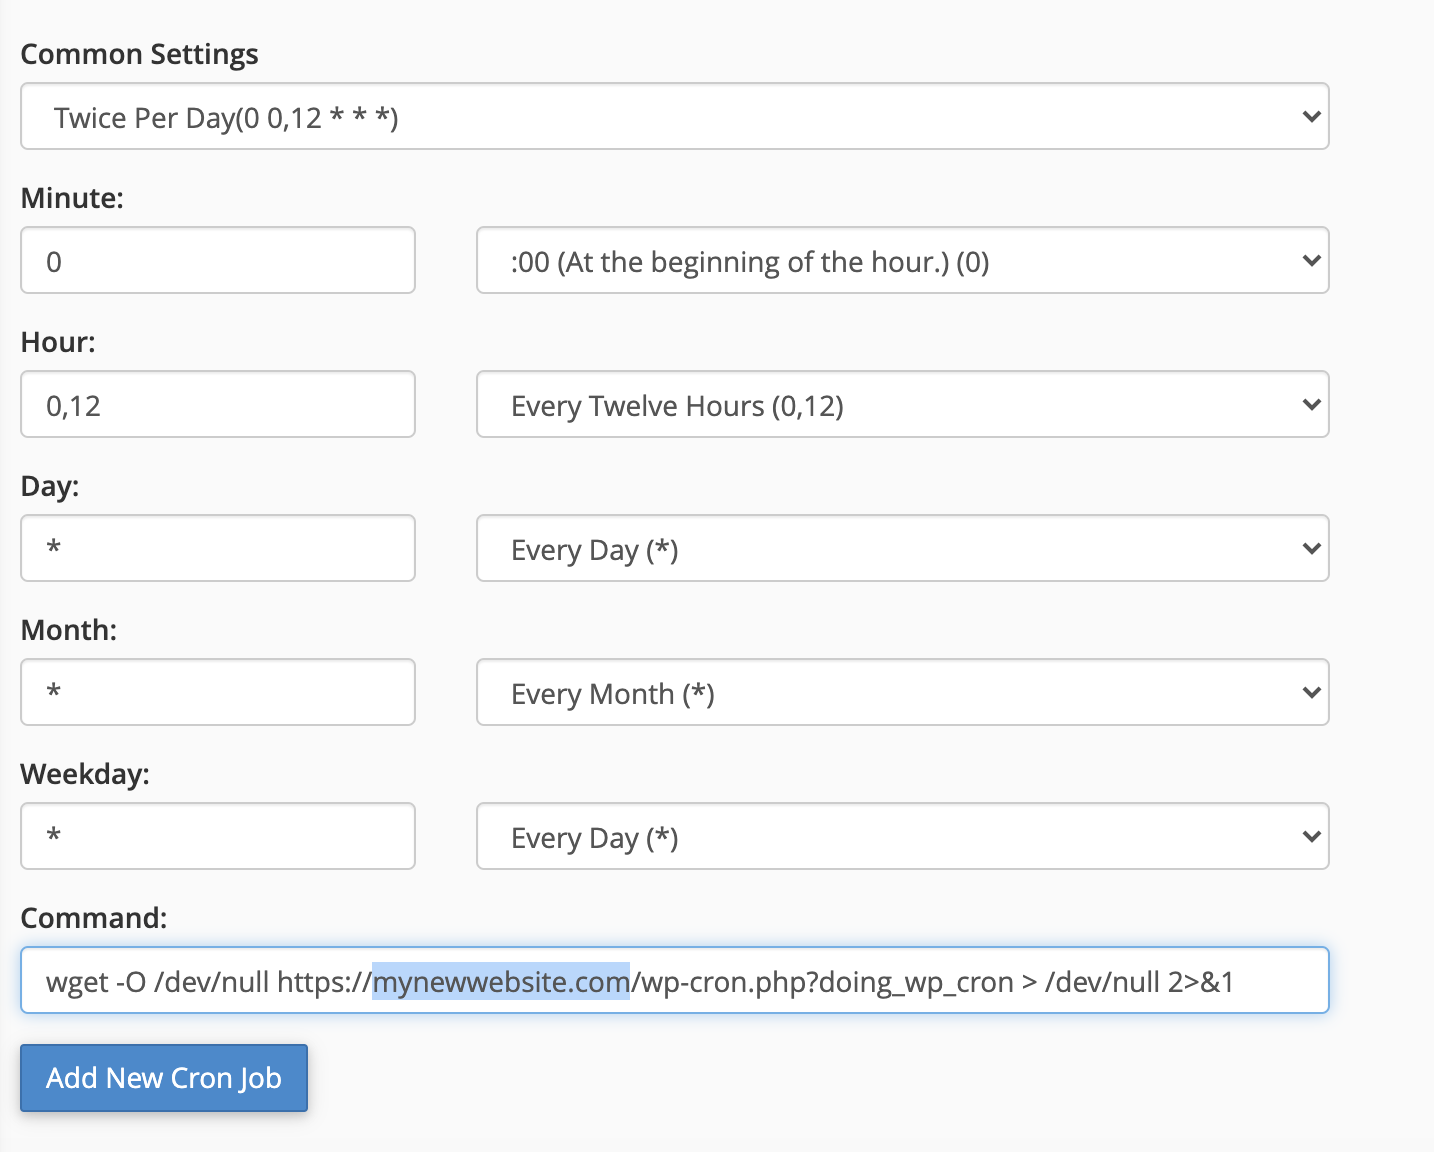
If you encounter issues with the above cron job, here is an alternative command that will achieve the same thing:
cd /home/example-username/public_html; php -q wp-cron.php
You should paste this into the form to create a new cron job, but change example-username to your actual cPanel username!
Wondering the difference between the two commands?
The first method executes the wp-cron.php file by making an HTTP request, so you can track when the cron job has ran by checking the "Visitors" page in your cPanel control panel. If you use the second method, the requests will run using php daemon directly (not via the HTTP server). They'll run normally, but not be recorded on the "Visitors" page.
Step 3 - If you use iThemes Security plugin.
Some security plugins block requests to your website using the wget command. In particular iThemes Security adds lots of code to the .htaccess file to block different requests. Please open the .htaccess file in the main directory of your website and look for a line:
RewriteCond %{HTTP_USER_AGENT} ^Wget [NC,OR]
If that line exists please comment it out by putting # at the start (or delete it completely) and save the file.
That's it all done!
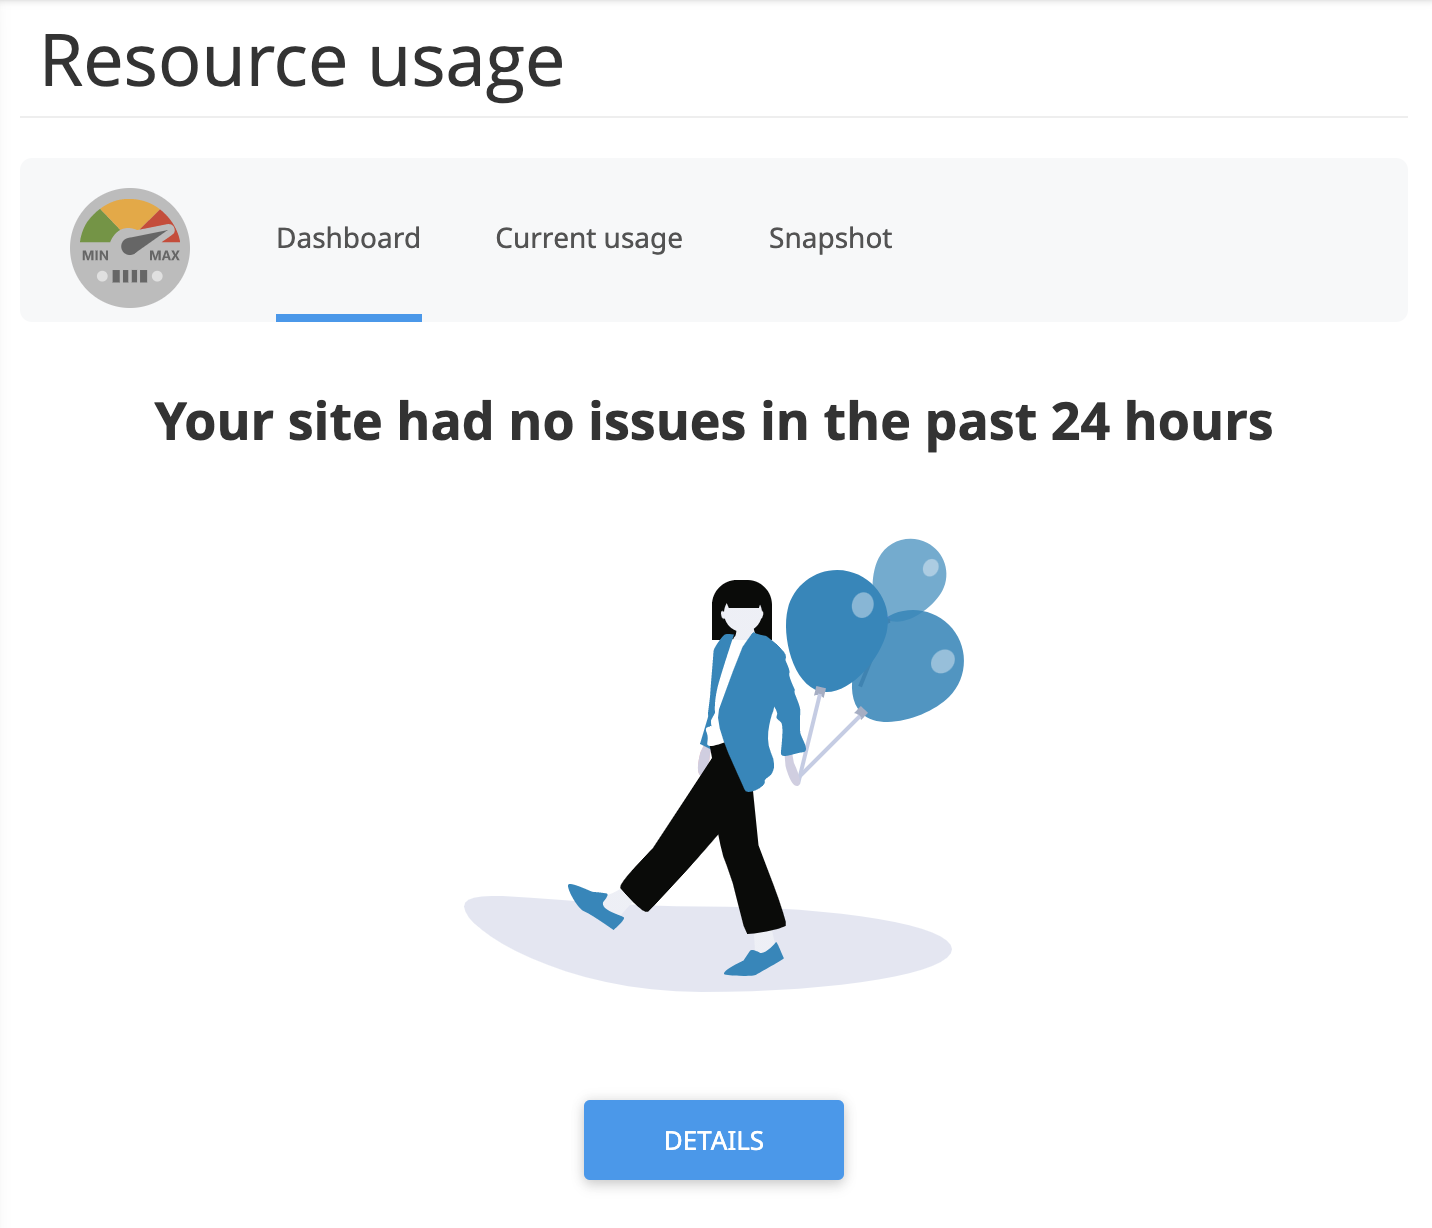
The "Resource Usage" page in cPanel provides data/graphs on the CPU, memory, IO, and EP usage on your hosting account. By following the steps above, it should result in lower CPU and EP usage. If your hosting account is generating snapshots (due to high resource usage), wp-cron.php should feature much less in the snapshot records.
Ideally this is what you want to see!: