MySQL databases are the backbone of many websites and applications, serving as a crucial component for storing and managing data. In the event of database corruption or issues, repairing them becomes a vital task to ensure data integrity and optimal website performance. For users managing their websites through cPanel, the process of repairing MySQL databases is streamlined and accessible. In this guide, we will walk you through the steps to repair MySQL databases in cPanel.
Why Repair MySQL Databases?
Database corruption can occur due to various reasons, including server crashes, unexpected shutdowns, or software glitches. When a MySQL database is corrupted, it can lead to data inconsistencies and errors, potentially impacting your website's functionality. Repairing the database helps in restoring data integrity and resolving issues related to corrupted tables.
Steps to Repair MySQL Databases:
Step 1: Log in to cPanel
- Open your web browser and enter your cPanel URL. This is typically in the format:
https://yourdomain.tld/cpanel. - Enter your cPanel username and password to log in.
- For more information: Accessing your hosting control panel (cPanel)
Step 2: Backup Before Repairing
-
Before attempting any repairs, it's advisable to create a backup of your database. cPanel provides tools to backup databases on the "Backup" and "Backup Wizard" pages, and this precautionary step ensures you can revert to a stable state if needed.
- For WordPress sites, we have the following guide:
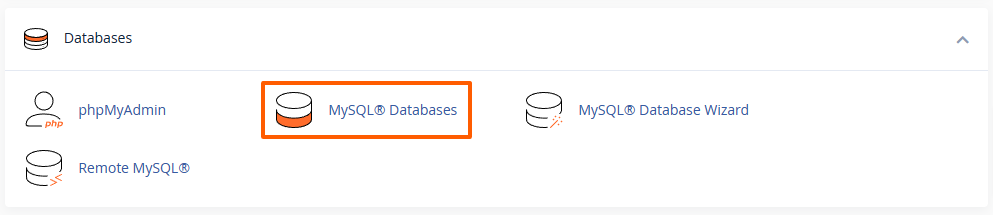
Step 3: Navigate to the MySQL Databases Section
- In the cPanel dashboard, locate and click on the "MySQL Databases" icon. This is found in the "Databases" section:
Step 4: Select the Database to Repair
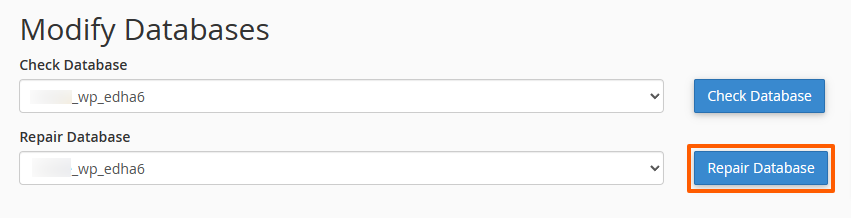
- Scroll down to "Repair Database" under the "Modify Databases" section, and you'll see a drop-down list of databases associated with your cPanel account.
- Identify the database you want to repair and select it.
- If you have multiple databases and you're not sure which one belongs to the relevant website, please ask your developer or check the configuration file of your website.
- For WordPress sites, the database name can be found in the
wp-config.phpfile.
Step 5: Repair the Database
- After you've selected the database in the drop-down menu, click on the "Repair Database" button next to it:
- Wait for the repair operation to finish.
- Important: Please do not refresh the page, click on the "Repair Database" button more than once, or navigate away from the page before the repair operation finishes. This can interrupt the repair operation and possibly lead to severe damage to the database tables.
Step 6: Verify and Monitor
- After repair process finishes, the results will be displayed on the page.
- Verify that the tables have been repaired successfully.
- Monitor your website to ensure that any issues related to the repaired tables have been resolved.
Additional Tips:
-
Check for Underlying Issues: If database corruption is a recurring problem, investigate the root cause, such as a PHP extension mismatch, resource usage overuse, software conflicts, faulty updates, or server-related issues.
-
Consider Professional Assistance: If you are uncomfortable performing database repairs or if issues persist, consider seeking assistance from your developer, a professional database administrator or our technical support team.
Conclusion:
Repairing MySQL databases in cPanel is a crucial operation for website owners and administrators. By following these steps, you can effectively identify and address issues within your databases, ensuring the smooth operation of your website and the integrity of your data. Regular monitoring and proactive measures contribute to a healthy database environment, minimizing the risk of data corruption.
Updated by SP on 09/01/2024


